
A tomahawk steak costs $80–$150 from a quality Australian butcher. The margin for error is zero. Cook it too hot, too fast, and a $120 cut of beef turns into a thick grey disc with a small pink centre — and every dollar of that premium is wasted.
Conventional methods don't suit this cut. A tomahawk is 7–8cm thick at the eye, and heat can't penetrate that distance without overcooking the outer layers long before the centre reaches temperature. Sous vide solves this by holding the entire water bath at your target, so the meat cooks edge-to-edge at exactly 54–56°C (130–133°F) with no overshoot.
This guide covers temperature, time, the FSANZ December 2023 food safety standard, searing technique, and Australian wagyu-specific adjustments for your tomahawk steak.
Sous vide a tomahawk steak at 54–56°C (130–133°F) for 3–4 hours, then sear hard for 60–90 seconds per side. Research in Foods (MDPI), 2022 found sous vide cuts cooking loss to as low as 16.64% compared to 41.31% for conventional high-heat cooking — meaning more moisture, more tenderness, and a better result on an expensive cut.
Research published in Foods (MDPI) found sous vide reduces cooking loss to as low as 16.64%, compared to 41.31% for conventional high-heat cooking (Foods MDPI, 2022). For a thick-cut, bone-in ribeye like a tomahawk, that moisture gap is the difference between a good result and a genuinely great one.
The reason conventional cooking struggles comes down to thermal physics. Heat travels from the outside inward. On a 7–8cm steak, the surface hits 70°C+ before the core reaches 54°C. The outer layers overcook while the centre is still catching up — that's the grey band you've probably cut into on a thick steak straight off the grill.
Sous vide eliminates the problem entirely. When your bath is set to 55°C, nothing in that environment can exceed 55°C. The entire cut — surface, edge, and the meat closest to the bone — arrives at the same temperature simultaneously. No gradient, no grey band.
The grey band is simply overcooked meat. On a 7cm cut cooked over direct high heat, the temperature gradient through the steak can span 20–30°C at any one moment. The outside is approaching well done while the middle is still rare. Sous vide removes that gradient — the bath temperature is the ceiling, and nothing in the cook exceeds it.
Tenderness improves too. A 2025 study in Food Chemistry: X found sous vide reduced Warner-Bratzler shear force — a direct measure of toughness — by 37.71% compared to conventional cooking (Food Chemistry: X, 2025). Lower temperature, held longer, breaks down connective tissue without squeezing out moisture.
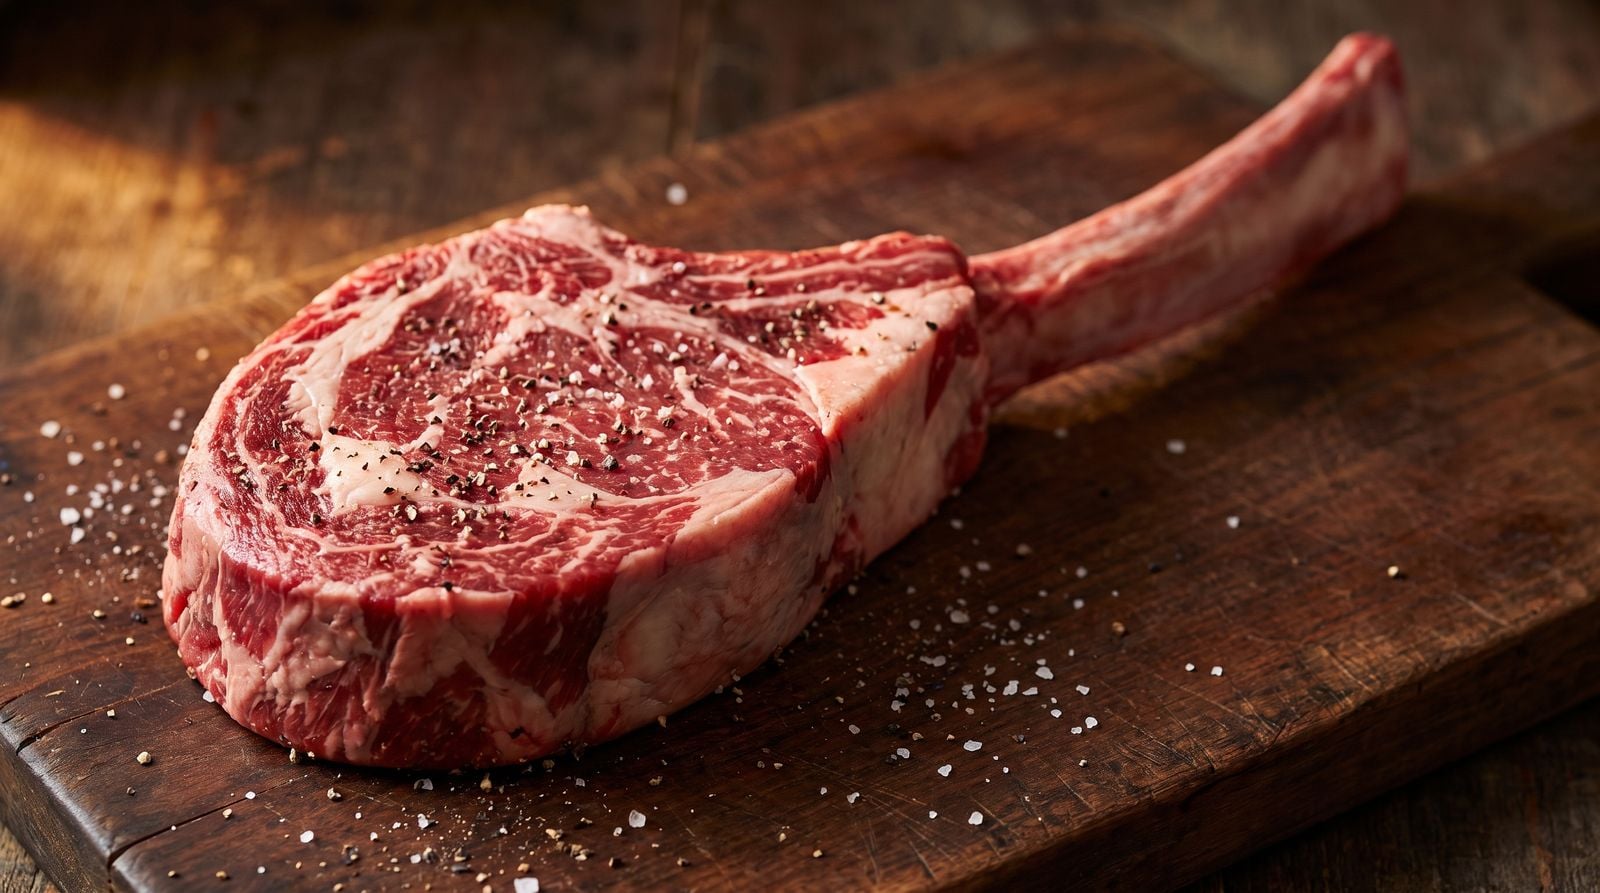
For medium rare, set your sous vide to 54–56°C (130–133°F). If you're cooking a high-marbling Australian wagyu tomahawk with a marble score of 7 or above, use the lower end — 54°C — to preserve the intramuscular fat that makes wagyu worth buying. Standard grain-fed or grass-fed tomahawk steaks perform well at any point in the 54–56°C range.
| Doneness | Temp (°C) | Temp (°F) | Result |
|---|---|---|---|
| Rare | 52–54°C | 125–130°F | Cool red centre, very soft |
| Medium Rare | 54–56°C | 130–133°F | Warm red centre, tender ★ recommended |
| Medium | 60–63°C | 140–145°F | Pink centre, firmer texture |
| Medium Well | 65–68°C | 150–155°F | Slight pink, noticeably firmer |
| Well Done | 71°C+ | 160°F+ | No pink, tough |
One detail worth knowing: the NSW Food Authority defines the danger zone as 5°C–60°C (NSW Food Authority). At medium-rare temperatures you're cooking inside that zone, which is why the time section isn't optional reading — you need both correct temperature and sufficient duration to meet the FSANZ pasteurisation standard.
Australian wagyu carries significantly more intramuscular fat than standard grain-fed beef, and that fat begins to melt and render at approximately 55°C. At 57°C or above, that fat drains into the bag rather than staying in the meat — and you've paid a considerable premium for that marbling. Pryde's tomahawk steaks are cut to order specifically to protect it.
For a marble score 7+ tomahawk, target 54°C precisely. The lower degrees preserve the fat's silky mouthfeel and keep the texture where it should be. Standard grain-fed beef has less intramuscular fat, so the full 54–56°C range is equally suitable for those steaks.
A standard tomahawk at 6–8cm thick requires a minimum of 3 hours in the sous vide water bath at 54–56°C. Cook time is driven by thickness, not weight. The bone doesn't conduct heat — it's the distance from the surface to the centre of the ribeye eye that sets your minimum time (Amazing Food Made Easy / Douglas Baldwin).
The relationship between thickness and time isn't linear. It's closer to quadratic — double the thickness and you roughly quadruple the minimum cook time. A 2.5cm striploin needs around an hour. A 5cm sirloin takes 2.5 hours. A 7.5cm tomahawk eye needs at least 4 hours to fully equilibrate throughout. Always start timing from when the bath reaches your target temperature, not from when the steak goes in.
So why does anyone cook a tomahawk for 3 hours instead of 4? Three hours is the floor for food safety and texture at 54–56°C. But 3.5–4 hours is the practical target — it gives the cold core of a bone-in 1.2–1.6kg cut enough time at temperature to be genuinely pasteurised. We'll cover that in the food safety section.
Don't go beyond 5–6 hours at 54–56°C. Extended cooking at these temperatures degrades protein structure progressively. Beyond 6 hours the texture becomes unnervingly soft — it loses that firm, steak-like bite and edges toward something mushy. The sweet spot is 3.5–4 hours for a standard 7–8cm tomahawk.
Cooking from frozen? Add 30–60 minutes to your minimum. A frozen 7–8cm tomahawk needs at least 4.5–5 hours at temperature. No defrosting required — the bath brings it up gradually, but you need the additional time to account for the starting temperature.
New to the cut? What is a tomahawk steak covers the bone-in ribeye basics before you get to timing.
Yes — sous vide steak is food safe when time and temperature meet the Australian pasteurisation standard. As of December 2023, a single FSANZ national standard governs sous vide cooking across all Australian food businesses (FSANZ / Food Safety News AU, December 2023). At 54.4°C held for 121 minutes, USDA research confirms a 7-log Salmonella reduction in vacuum-packaged beef (USDA NAL, 2021–23).
The danger zone is the key concept. The NSW Food Authority defines 5°C–60°C as the temperature range where bacteria can multiply. At 54–56°C you're cooking inside that zone — which is exactly why cook duration isn't optional. A short cook at 54°C is not food safe. Time and temperature together are what achieve pasteurisation.
The pasteurisation time curve drops sharply as temperature rises. Based on Anova Culinary's reference guide citing USDA data (Anova Culinary):
Our recommended 3–4 hour cook at 54–56°C means 180–240 minutes at temperature — well beyond the 120-minute pasteurisation threshold. That margin isn't excessive; on a thick bone-in cut, the cold core takes longer than the eye to reach target temperature, and the extra time accounts for that lag. The NSW Food Authority also recommends a tip-sensitive thermometer accurate to 0.1°C — verify your circulator's calibration before every cook.
Cooking a sous vide tomahawk has five stages: season, seal, set, cook, and sear. Most of the process is straightforward — but bone-in cuts need one extra step that most recipes skip. Sharp rib bones puncture bags mid-cook, and discovering that with two hours still on the timer is an experience worth avoiding.
Step 1 — Season and prepare
Pat the steak completely dry with paper towels on every surface, including the edges and around the bone. Season heavier than feels comfortable — cooking inside a sealed bag mutes seasoning noticeably compared to a direct-heat cook. Use flaky salt and cracked black pepper. Optional additions inside the bag: one small knob of butter and a sprig of fresh thyme. Don't add raw garlic — at low temperatures over a long cook, it turns bitter.
Step 2 — Bag the steak
Use a vacuum-seal bag (preferred) or a high-grade zip-lock. Before sealing, wrap the tip of the rib bone in a folded square of butcher's paper or a small cloth — the bone end is sharp enough to punch through a single bag. Double-bag if the bone is prominent or the cook exceeds 3 hours. For a zip-lock, use water displacement: seal the bag almost fully, then slowly submerge it to force air out before closing. No air pockets against the meat surface — air pockets cause uneven cooking.
Step 3 — Set temperature and time
Set your circulator to 54–56°C (54°C for wagyu marble score 7+). Set the timer for a minimum of 3 hours and a maximum of 5 hours. Place a lid or stretch cling film across the top of the container — a long cook without covering the bath loses water to evaporation and can cause the bag to surface above the water line.
Step 4 — Cook
Keep the steak fully submerged throughout. The entire ribeye eye must sit below the water line. If the bag floats, clip it down with a trivet, a cutlery rest, or sous vide weights. Don't open the container or check during cooking — the circulator manages temperature continuously and doesn't need intervention.
Step 5 — Remove and rest before searing
Remove the bag carefully; there's hot liquid inside. Transfer the steak to a wire rack — don't place it on a plate or board, as pooling juices soften the surface before you sear. Pat completely dry with paper towels on every surface. Rest on the rack for 5–10 minutes while your cast iron or grill reaches maximum heat. Reserve the bag liquid to use as a basting base.
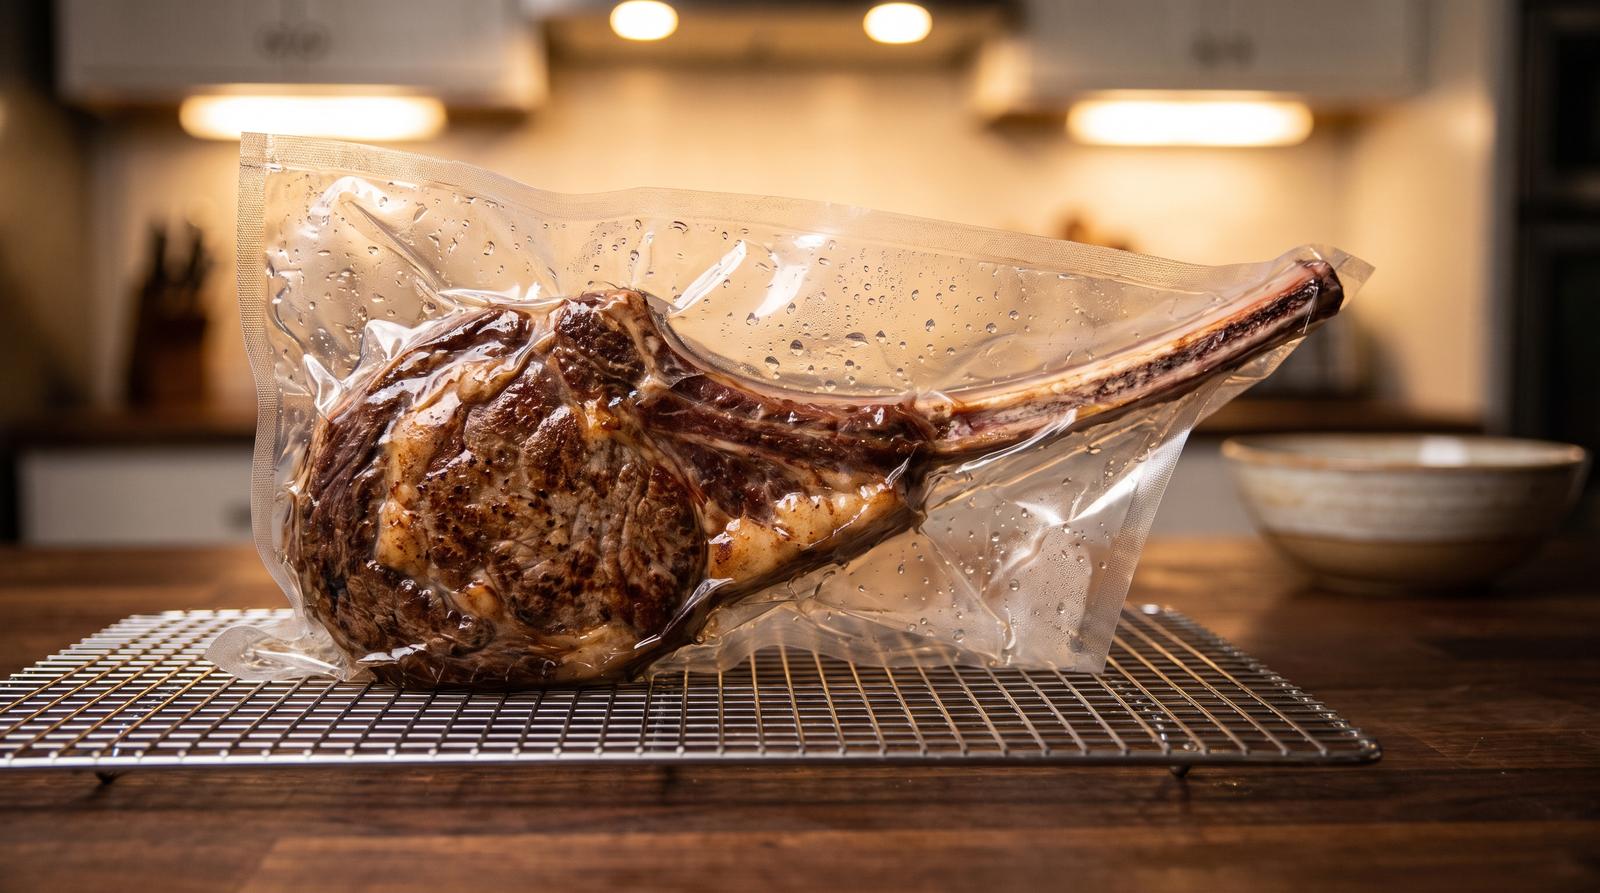
The Maillard reaction — the chemistry that creates a browned crust and deep flavour — begins at approximately 140°C (284°F) surface temperature (Exploratorium). After a sous vide cook, your steak's interior is already done. The sear has one job: create the crust. That means fast, very hot, and brief.
Your steak will look grey when it comes out of the bag. This is completely normal. Sous vide cooking in a sealed container produces no Maillard browning — every bit of crust and colour comes from the sear. Don't be put off by the appearance.
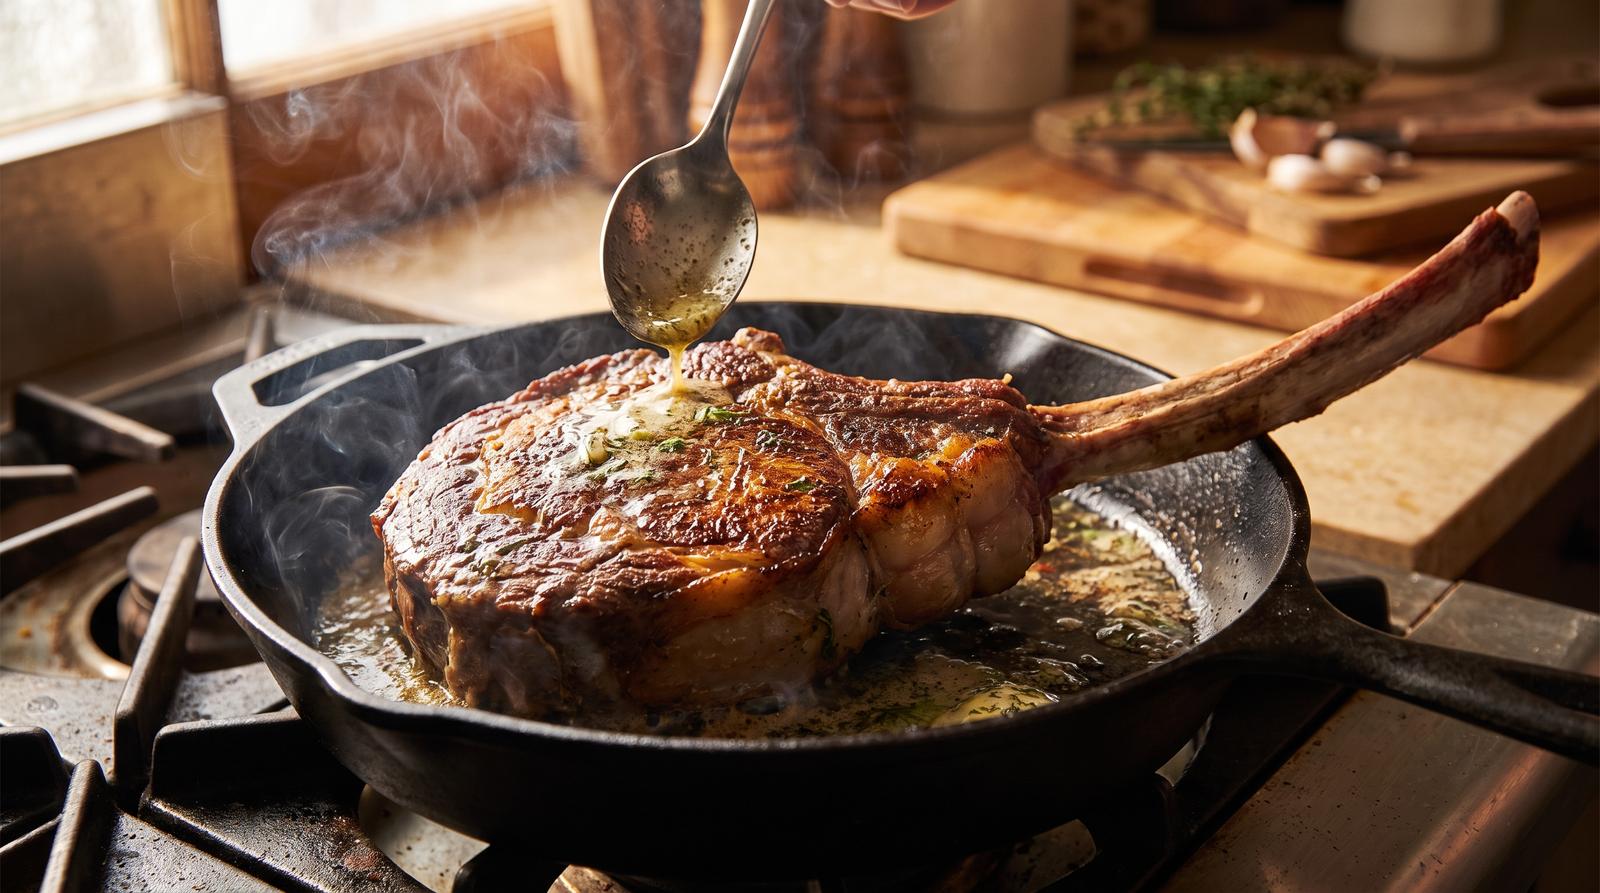
Cast iron skillet is the preferred searing method. Heat the pan dry over maximum flame for 3–4 minutes before the steak makes contact. Add a high-smoke-point oil — beef tallow, avocado oil, or grapeseed — just before the steak goes in. Cast iron holds heat under the cold mass of a thick tomahawk in a way thinner pans can't.
Charcoal or gas grill at maximum heat is excellent for this cut. The grill accommodates the long bone easily, delivers intense radiant heat, and gives you a subtle char flavour that suits a large ribeye. Grid marks add visual appeal for presentation.
A blowtorch is useful as a supplementary tool for the fat cap and bone edges — not as the sole sear method on a cut this thick.
The searing technique is the same regardless of method: 60–90 seconds per side, no movement. Flip once. During the last 30 seconds of each side, tilt the pan and baste with butter and the bag liquid. Finish by holding the steak on its side with tongs for 30 seconds to render the fat cap along the bone edge.
Sous vide steaks need very little resting. The interior is already at a uniform temperature — 3–5 minutes while you plate is all it needs.
Both sous vide and reverse sear eliminate the grey band that ruins thick-cut steaks cooked by direct high heat. Sous vide wins on moisture retention and repeatability; reverse sear wins on equipment simplicity. For most home cooks who already own a precision circulator, sous vide produces the more consistent result across multiple cooks.
The practical difference is hands-on time. Reverse sear needs an oven and a probe thermometer — no specialist gear. You monitor the steak as the low oven heat slowly brings it to temperature, then sear to finish. With sous vide, you set the bath, submerge the bag, and walk away for 3–4 hours. That hands-off quality suits cooks who need to time a meal around other things.
| Method | Equipment | Cooking Loss | Grey Band Risk | Sear Quality | Repeatability | Difficulty |
|---|---|---|---|---|---|---|
| Sous Vide | Circulator + container | ~16% | Eliminated | Excellent | Very high | Medium |
| Reverse Sear | Oven + probe thermometer | ~20–25% | Eliminated | Excellent | High | Low–Medium |
| Direct Grill/Pan | Grill or pan only | ~30–40% | High risk | Excellent outside | Low | High |
If you don't own a sous vide circulator, reverse sear is the closest alternative for a tomahawk and gets you an excellent result on a cut this thick. See the full reverse sear tomahawk steak method for step-by-step instructions.
A standard 6–8cm tomahawk needs a minimum of 3 hours at 54–56°C, with 3.5–4 hours as the practical target. The bone doesn't conduct heat and doesn't affect timing — it's the thickness of the meat at the eye that sets the time. Do not exceed 5–6 hours, or texture degrades significantly. Source: Amazing Food Made Easy / Douglas Baldwin.
Set your sous vide to 54–56°C (130–133°F) for medium rare — a warm red centre with maximum tenderness. For Australian wagyu tomahawks with a marble score of 7 or above, cook at exactly 54°C. Intramuscular fat begins rendering above 55°C, draining into the bag and wasting the premium marbling that justifies the price.
Yes — place the frozen steak directly into the bath without defrosting. Add 30–60 minutes to your minimum cook time. A frozen 7–8cm tomahawk needs at least 4.5–5 hours at 54–56°C to reach target temperature throughout and meet FSANZ food safety requirements. Source: NSW Food Authority.
No. A high-quality zip-lock bag used with the water displacement method works well — submerge the nearly-sealed bag in water to push air out, then close. Always double-bag a tomahawk regardless of bag type. The sharp rib bone tip can puncture a single bag mid-cook, and discovering that with 2 hours left on the timer is not an outcome worth risking.
This is completely normal. Sous vide cooking in a sealed bag produces no Maillard browning at all — the grey exterior is the expected result. Every bit of colour, crust, and flavour development comes from the sear. A properly heated cast iron skillet or grill at maximum heat creates the full crust in 60–90 seconds per side. Do not skip or shorten the sear.
A $100+ tomahawk deserves a method you can repeat with confidence every time. Sous vide delivers exactly that — edge-to-edge medium rare with cooking loss as low as 16.64%, compared to 41.31% for conventional high-heat cooking (Foods MDPI, 2022).
Three things to carry away from this guide:
Pryde Butchery's tomahawk beef is cut and packed to order — vacuum-sealed and ready for the bath. Shop the tomahawk steak online.
More in the Pryde Butchery Tomahawk Series: pan-seared tomahawk steak and reverse sear tomahawk steak.
